Hands-On Runbook — 'Zero to Cloud' in Under 30 Minutes
Step-by-step terminal runbook to spin up a modern containerized OpenStack private cloud with OVN networking and Nova compute in under 30 minutes.
On this page
Most tutorials on private cloud setups spend twenty pages talking about prerequisite philosophy before giving you a single command. Then they fail on step three because a package maintainer renamed a repository URL.
Not here.
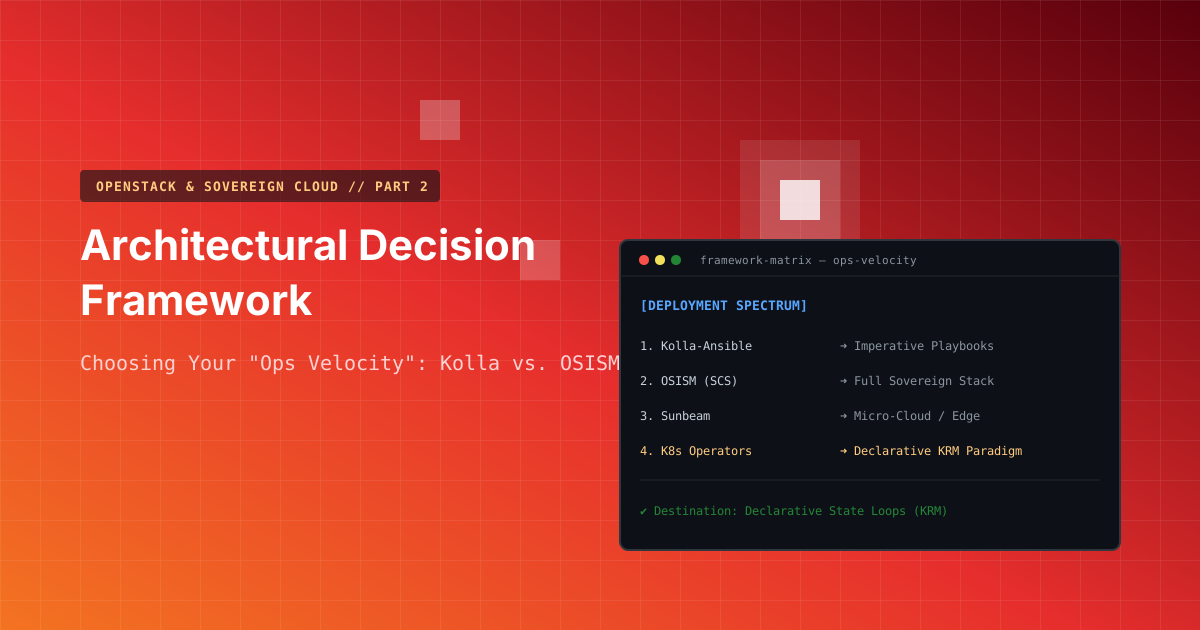
This is a zero-fluff, copy-paste terminal runbook designed to get a fully operational, multi-service OpenStack control plane running on bare metal or a virtual machine in under half an hour. We are using Canonical Sunbeam for this rapid deployment—it gives us a real, containerized OpenStack footprint running OVN and native APIs without making us write 4,000 lines of custom inventory files.
Get a clean Ubuntu machine ready. Let’s build a cloud.
Prerequisites
This runbook targets a dedicated Ubuntu 24.04 LTS (amd64) host running Canonical OpenStack 2024.1.
For a constrained single-node lab, start with 4 CPU cores, 16 GiB RAM and 100 GiB SSD storage. Prefer 8+ CPU cores and 32 GiB RAM, with additional unpartitioned storage where required by the selected storage configuration.
Verify hardware virtualization (/dev/kvm), administrative access, working DNS, outbound repository and registry connectivity, and suitable network address ranges.
Use a clean host without an existing Docker, standalone containerd or Kubernetes installation. These components can interfere with Sunbeam’s container runtime and networking setup.
If bootstrap fails, consult [Troubleshooting Common Sunbeam Bootstrap Failures(#troubleshooting-common-sunbeam-bootstrap-failures) at the end of this runbook.
Bootstrap the OpenStack Control Plane
We deploy Sunbeam via snaps. It spins up a minimal MicroK8s control plane under the hood, registers the requisite OpenStack operators, and bootstraps core services (Keystone, Nova, Neutron/OVN, Glance, Cinder).
# 1. Install the Sunbeam snap channel
sudo snap install openstack --channel 2024.1/stable

# 2. Prepare the local host node
sunbeam prepare-node-script --bootstrap | bash -

# 3. Initialize the single-node control plane
# Note: For non-interactive deployment, feed the default configuration flags
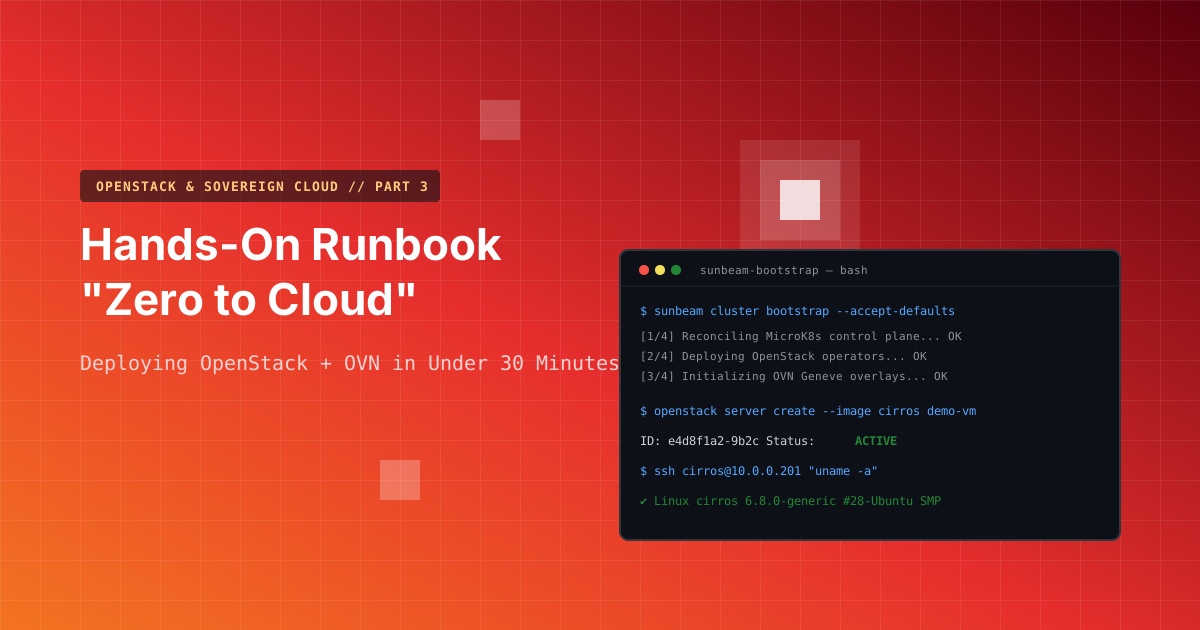
sunbeam cluster bootstrap --accept-defaults --role control,compute,storage
This bootstrap sequence pulls modern, immutable OCI container images for the OpenStack services, spins up OVN logical switches, and configures database reconciliation loops.
# Check control plane deployment status
sunbeam cluster list

                               openstack-machines
┏━━━━━━━━━━━━━━━━━━┳━━━━━━━━━┳━━━━━━━━━┳━━━━━━━━━┳━━━━━━━━━┳━━━━━━━━━┳━━━━━━━━━┓
┃ Node             ┃ Machine ┃ Cluster ┃ Compute ┃ Control ┃ Network ┃ Storage ┃
┡━━━━━━━━━━━━━━━━━━╇━━━━━━━━━╇━━━━━━━━━╇━━━━━━━━━╇━━━━━━━━━╇━━━━━━━━━╇━━━━━━━━━┩
│ lab-macmini-001  │ running │ ONLINE  │ active  │ active  │         │ active  │
└──────────────────┴─────────┴─────────┴─────────┴─────────┴─────────┴─────────┘

sudo microceph.ceph status
juju status -m sunbeam-controller:openstack
juju status -m sunbeam-controller:admin/openstack-machines
You should see all microservices in an active/idle state. No failed systemd units. No broken Python virtualenvs.
Configure the Cloud & Fetch Credentials
Now that the control plane is reconciled, we need to initialize default cloud settings: flavors, external network overlays, and identity endpoints.
# 1. Execute the opinionated cloud setup wizard non-interactively
sunbeam configure deployment --openrc ~/demo-openrc

# 2. Export openrc credentials to your local shell session
sunbeam openrc > ~/demo-openrc
source ~/demo-openrc

# 3. Verify native OpenStack API access
openstack token issue
openstack service list

# 4. Inspect the initial cloud resources
openstack network list
openstack image list
openstack flavor list
For this single-node lab, select local VM access and accept the default external network (172.16.2.0/24) and private network (192.168.0.0/24).
Once configuration completes, Sunbeam provides the Horizon dashboard URL and generates the OpenRC credentials.
Successful configuration and service registration establish that the cloud’s initial setup completed. Launching a VM is the next step in validating the compute, image, and networking paths.
Architecture Flow: Local Micro-Cloud Blueprint
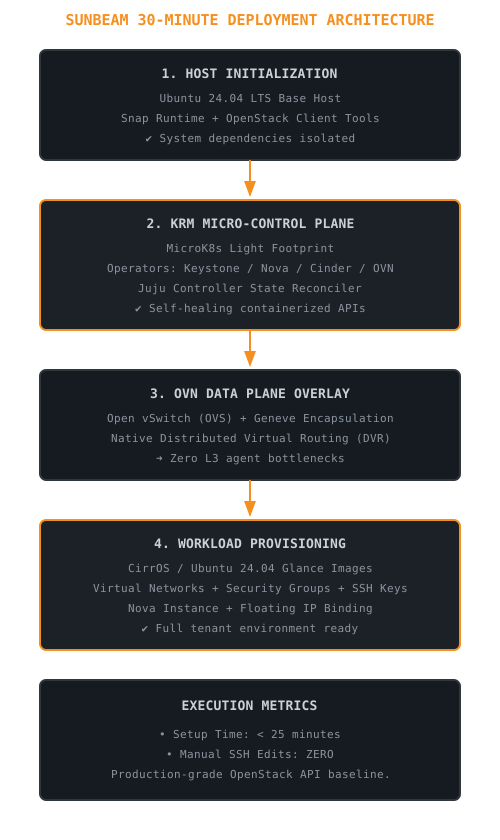
Launch Your First Virtual Machine
With the cloud control plane online, we drop down to standard OpenStack CLI operations to provision a tenant virtual machine.
# 1. Download a lightweight cloud image (CirrOS) and register it in Glance
curl -L https://download.cirros-cloud.net/0.6.2/cirros-0.6.2-x86_64-disk.img -o cirros.img

openstack image create "cirros" \
  --file cirros.img \
  --disk-format qcow2 \
  --container-format bare \
  --public

# 2. Create an SSH keypair for instance access
ssh-keygen -t ed25519 -N "" -f ~/.ssh/id_openstack

# Some Snap-packaged OpenStack clients cannot read files inside hidden directories such as ~/.ssh/, even when Unix permissions are correct. Copy the public key to a non-hidden location:

cp ~/.ssh/id_openstack.pub ~/openstack-key.pub && chmod 644 ~/openstack-key.pub

# Register the keypair in the demo project:
openstack keypair create \
  --public-key ~/openstack-key.pub \
  my-key

openstack keypair list

# 3. Configure ICMP (ping) and SSH ingress rules in the default security group

# Sunbeam's demo configuration may already include inbound ICMP and SSH rules.

openstack security group list
openstack security group rule list default

# Verify that the default security group permits:
# Inbound ICMP from 0.0.0.0/0
# Inbound TCP port 22 from 0.0.0.0/0

# If either rule is missing, create only that rule:
# Run only if the ICMP rule is absent
openstack security group rule create \
  --protocol icmp \
  --ingress \
  default

# Run only if the SSH rule is absent
openstack security group rule create \
  --protocol tcp \
  --dst-port 22 \
  --ingress \
  default

# A 409 Conflict indicates that an equivalent rule already exists.

# 4. Boot a virtual instance on the overlay network
openstack server create --flavor m1.tiny \
  --image cirros \
  --key-name my-key \
  --network demo-network \
  demo-instance

# 5. Verify instance status
openstack server list
Within a few seconds, the instance transitions from BUILD to ACTIVE.
# 6. Allocate and attach a Floating IP to access the VM from outside the overlay
FLOATING_IP=$(openstack floating ip create external-network -f value -c floating_ip_address)
openstack server add floating ip demo-instance $FLOATING_IP

# 7. Test SSH reachability
ssh -i ~/.ssh/id_openstack cirros@$FLOATING_IP "uname -a"
If the SSH connection succeeds and uname -a returns output similar to:
Linux demo-instance 5.15.0-71-generic ... x86_64 GNU/LinuxCongratulations: you have successfully deployed and accessed your first virtual machine on a multi-service, OVN-backed OpenStack private cloud.
What Did We Just Prove?
You didn’t spend three days debugging MySQL Galera deadlocks. You didn’t hand-edit /etc/nova/nova.conf. You didn’t fight broken Python virtualenvs.
In under thirty minutes, you deployed a modern, containerized OpenStack control plane that uses Kubernetes under the hood to reconcile its own state.
This proves the core thesis of this series: OpenStack is no longer an operational nightmare.
— — —
[1] Canonical Sunbeam Architecture: Canonical OpenStack Sunbeam Documentation — Specifies Sunbeam’s design around Juju charms running on MicroK8s.